Friday, November 29, 2013

Friday's Favorites!

Thrilled to be bringing our favorite items to you today!!!


Here is my favorite item currently on my craft table!
 Season of Style Designer Series Paper

Season of Style Designer Series Paper


Frosted Finishes Embellishments


My favorite thing isn't  a Stampin'UP! tool it is the love, encouragement and hope you can share with a hand stamped card, I do love the embossing folders too.
 Pretty Print Textured Impressions Embossing Folder


 Heidi Boos
Stuck on Stampin'

My favorite right now is the Color Me Christmas stamp set found in the 2013 Holiday Catalog. These little guys are just too cute!

Have a fabulous weekend!!!

Thanks for stopping by today for your daily SSInkspiration! Don't forget to check out our Facebook and Pinterest pages for even MORE Inkspiration!

Thursday, November 28, 2013

Quick & Easy Cards with Kim

Happy Thanksgiving!  We hope that you are enjoying your time with your families and friends today and eating some really yummy food! 
 
It's Kim here today to show you how to make some really Quick & Easy Christmas cards with a few products that Stampin' Up! currently sells.
 
(#132808  $4.95    35 Tags Total)


 The second item is the Pop & Place Holiday Gift Tags Book.
(#134975  $9.95    Over 70 Tags)
 
 
Add in a little cardstock and a few stamps or embellishments if you want to and you have some super cute cards.  I created 4 for you today and it seriously took me less than 30 minutes!


If you have any questions about my cards today, just let me know!  Otherwise, enjoy today but get ready to create your Christmas cards tomorrow with these great products that Stampin' Up! is offering!

Thanks for stopping by today for your daily SSInkspiration! Don't forget to check out our Facebook and Pinterest pages for even MORE Inkspiration!

Wednesday, November 27, 2013

Create your own Survivial Kit

Good morning and Happy Thanksgiving Eve! I'm finding that more and more these days my go-to crafting tool is My Digital Studio since it's portable, convenient, and super easy.  So we're going to spend our Christmas Holiday this year on a Disney cruise (whoo hoo!) and if you know anything about Disney cruises, the cruise fanatics have created all sorts of fun onboard activities, including Fish Extender exchanges. Basically families sign up in advance and bring this fish extenders (these are kind of like shoe organizers that are personalized with your family information) and then throughout the cruise you randomly drop off gifts for the other families in your group. It's lots of fun to come back to your room and see what kind of fun surprises await. So we've signed up for these and I decided to make fun cruise survival kits for the families and used My Digital Studio to design the cover and end used a full wood mount block case for the holder.

This was so easy to do and I love that I was able to get them printed through Stampin' Up's professional print services and just cut them down and it fit perfectly. I designed the case so that after the cruise families could use the cases as a keepsake from their trip.

This is the back of the case that lists of the information on the contents and fun things that can be used with it.

This is the inside of the case. I had to really cram everything in (and then realized that I forgot the tissues, so they'll be separate). Lots of great fun and useful things for the cruise.

I also designed bookmarks and key chains using MDS also. For the bookmark I used the kid's bookmark template, shrunk it down and then modified it for the cruise. For the keychain I added a 1" circle punch in MDS and filled it in with the Disney Cruise graphic. After printing it out all I had to do was punch out the image and attached it to a flattened bottlecap. I did use an epoxy sticker to cover the image so it's nice and sealed.

I also decided to give gifts to each of the kids in our fish extender group (I think I'm going to need a whole suitcase just for these gifts). I simply used the gusseted cellophane bags (currently on the clearance rack) and added lots of candy, glow bracelets, a bookmark, and key chain.
The gift tag was designed in MDS. All I did was pick out a tag punch, filled it in with cardstock, stamps, text, and embellishments and printed it out. I'm also working on gift bags for the crew members and I just enlarged this tag, and changed up the words.

It's so easy to make gift elements in My Digital Studio and you can still take advantage of Stampin' Up's 30% off select digital download and professional print product specials through the end of the month (there are several other projects I'm working on to get printed to take advantage of the sale) so there's still time.
Enjoy and happy digital crafting!
Diana

Thanks for stopping by today for your daily SSInkspiration! Don't forget to check out our Facebook and Pinterest pages for even MORE Inkspiration!

Tuesday, November 26, 2013

Tags on Tuesday

It's Pam from Stampin' in the Sun and I have TONS of tags for you!  There are so many pictured that I don't have specific sets or colors for you!  However, all of the products I have used are Stampin' Up! and they are current products available in the catalog or online.  Grab any Christmas-related stamp set, some ink and get inspired to make your own holiday tags too!


Hop on over to my blog (click here) and type your email in the "follow by email" area in the top left corner to make sure to get my daily updates!  Thanks for stopping by Stylin' Stampin' INKspiration today!

Thanks for stopping by today for your daily SSInkspiration! Don't forget to check out our Facebook and Pinterest pages for even MORE Inkspiration!

Monday, November 25, 2013

making a list...checking it twice!

Happy Monday Stampers! I have a fun little project for you today to help make your Christmas list making just a little more fun...plus these make great little gifts! I have made these in the past for craft bazaars and a couple of years ago we made one for a Christmas event I hosted. They are always a hit! If you'd like come on by to visit my blog for more fun ideas, you can find me at Stuck on Stampin'
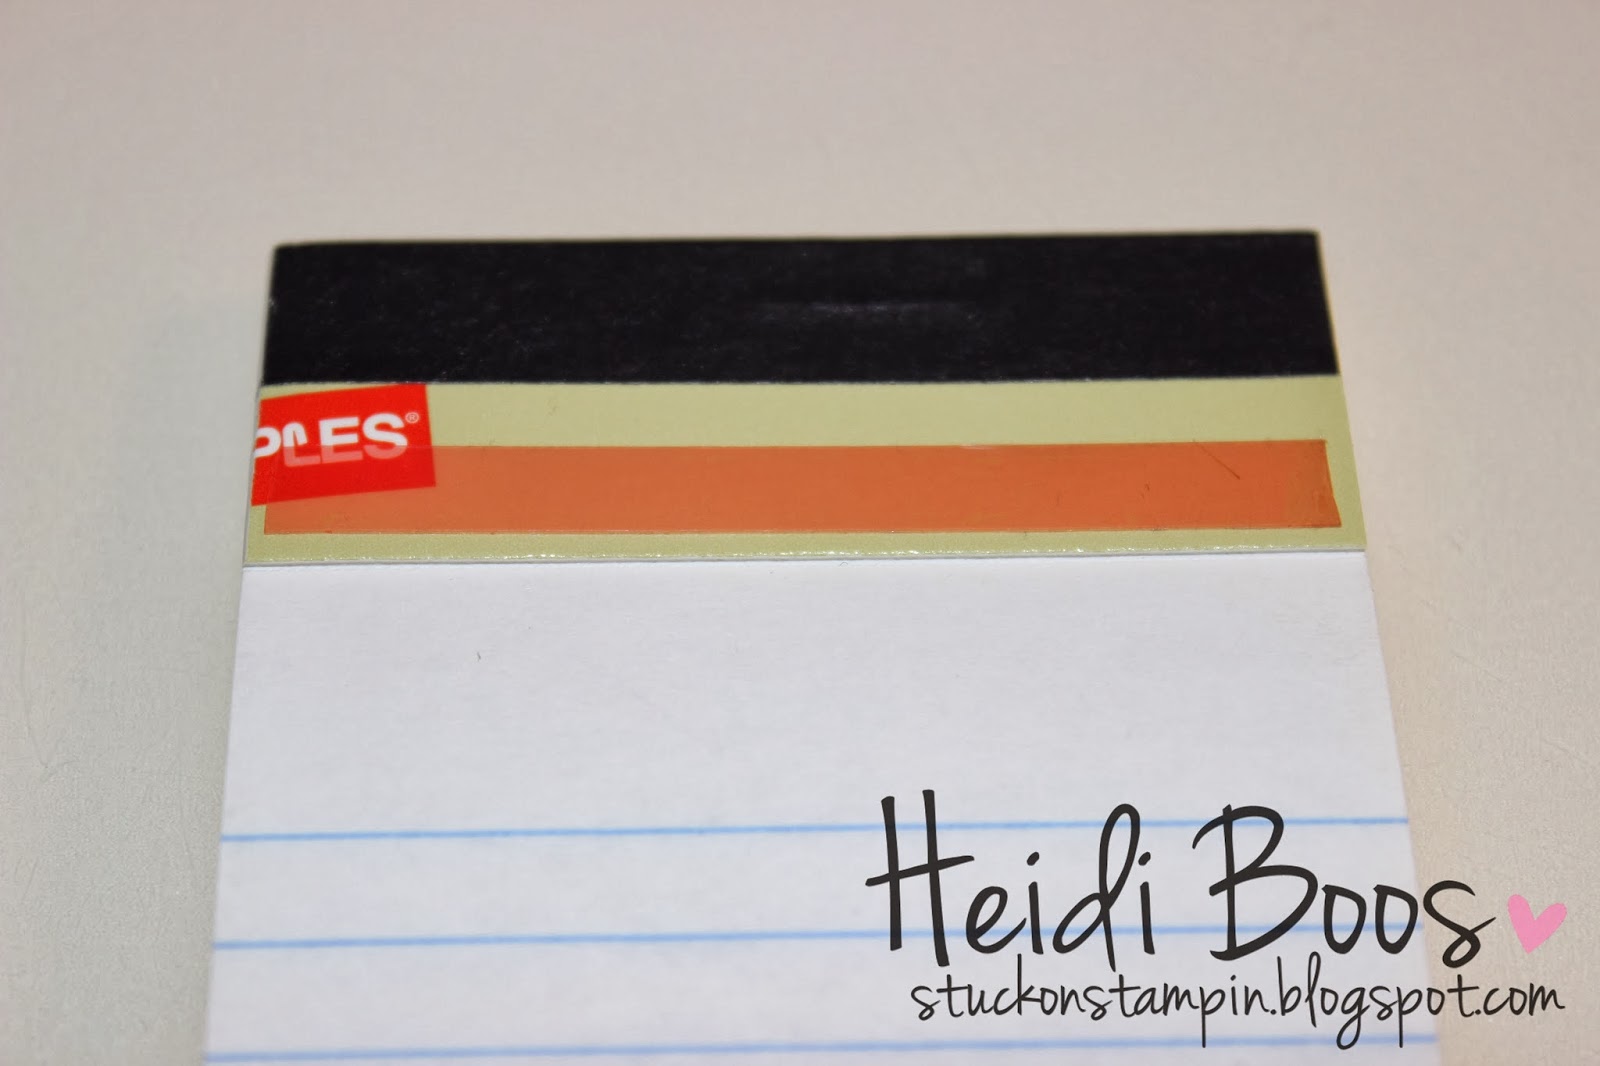
I bought a package of these list pads from Staples. They started out as 5" x 8".

For a small fee, Staples will cut these pads in half to make two smaller list pads. They will do half of the stack at a time (I think it comes as a pack of 12).
 

Magnetic List Pad 

Using SNAIL adhesive, adhere the two pieces of cardstock together.
 

Place a piece of Sticky Strip on top of the list pad.

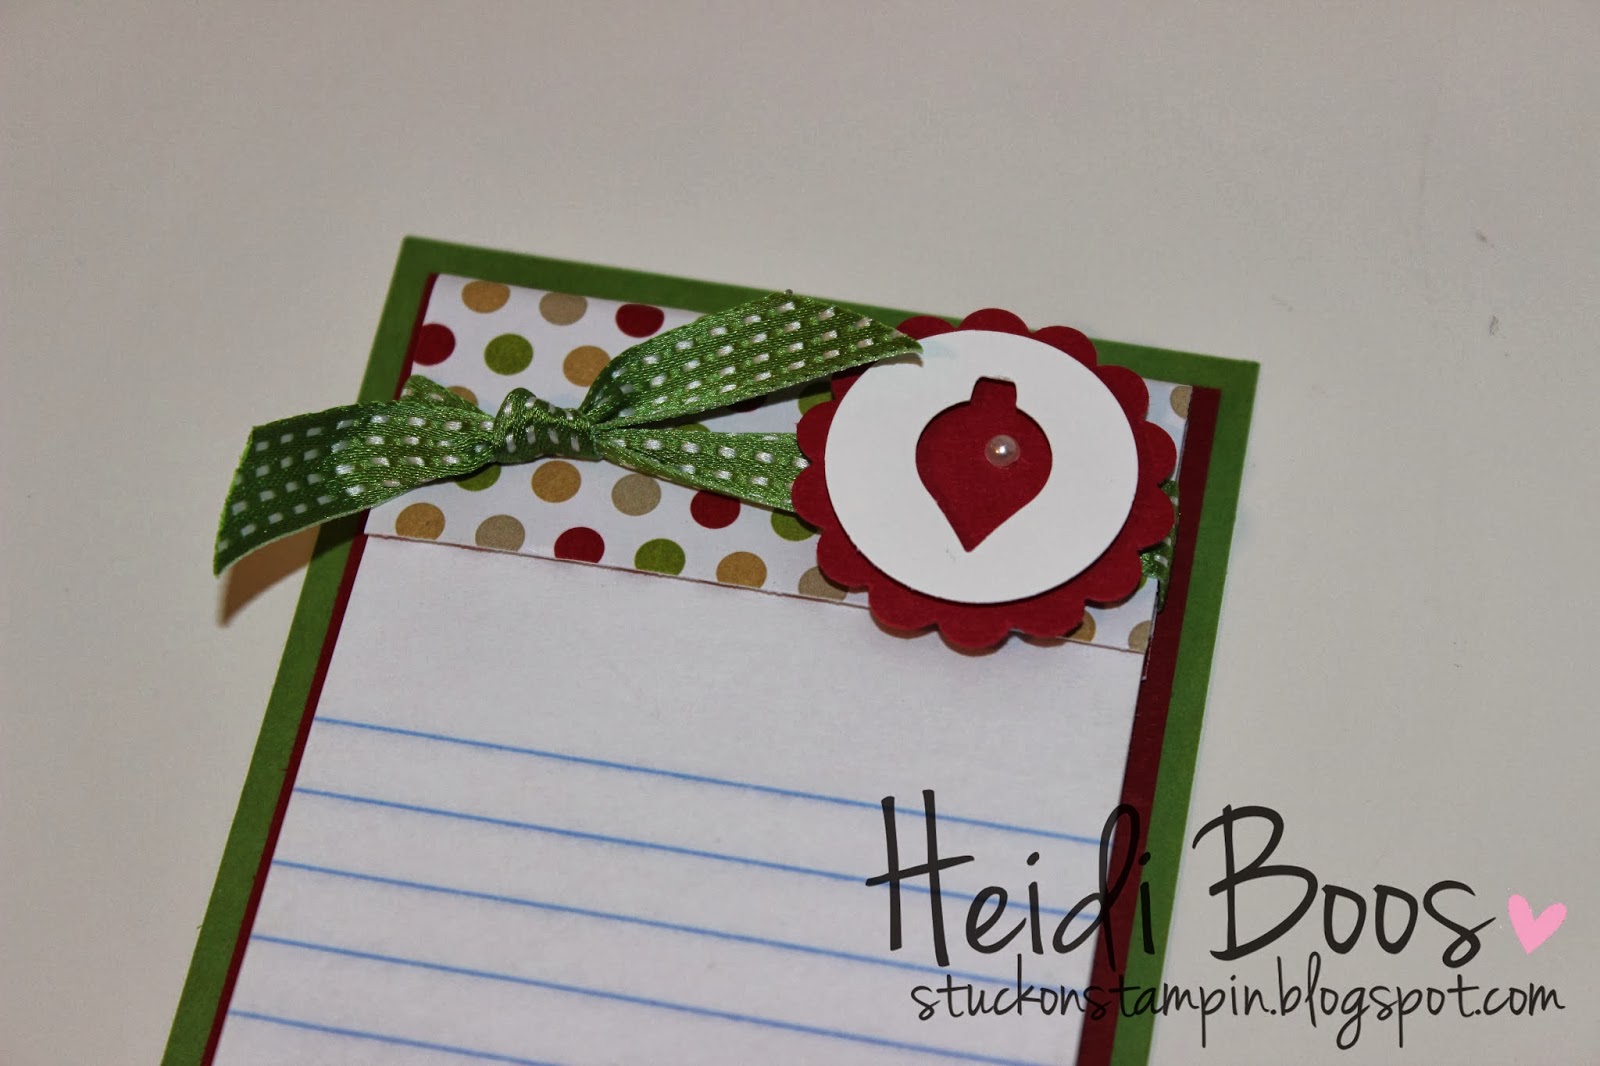
Place the piece of DSP on the Sticky Strip piece and then fold over the top to the back.

After wrapping the top with ribbon, place three pieces of Sticky Strip on the back of the pad. 

And adhere to the pieces of cardstock and embellish!


 Covered List Pad

Crease on the score lines.

Wrap a piece of DSP over the top of the list pad. Place Sticky Strip on the back.

Adhere to the inside of the cardstock piece.

Embellish and tie with a bow.

Might be hard to see, but I added some Dazzling Diamonds glitter to Santa's outfit.


Thanks for stopping by!!

Thanks for stopping by today for your daily SSInkspiration! Don't forget to check out our Facebook and Pinterest pages for even MORE Inkspiration!