
Today we're going to show you how to Bokeh!
So....What Is Bokeh? Webster's defines it like this:
bokeh : noun
a Japanese term for the subjective aesthetic quality of out-of-focus areasof a photographic image
For this tutorial, we're going to focus on the "out of focus dots" type of Bokeh as seen here:

Supplies you'll need:
An aqua painter (or water color brush and water)
Stampin' Up! Classic Ink Pads or Re-inkers
Water color paper
White Chalk (or white pigment ink)
Step 1: Water color your paper in a pattern that you desire!
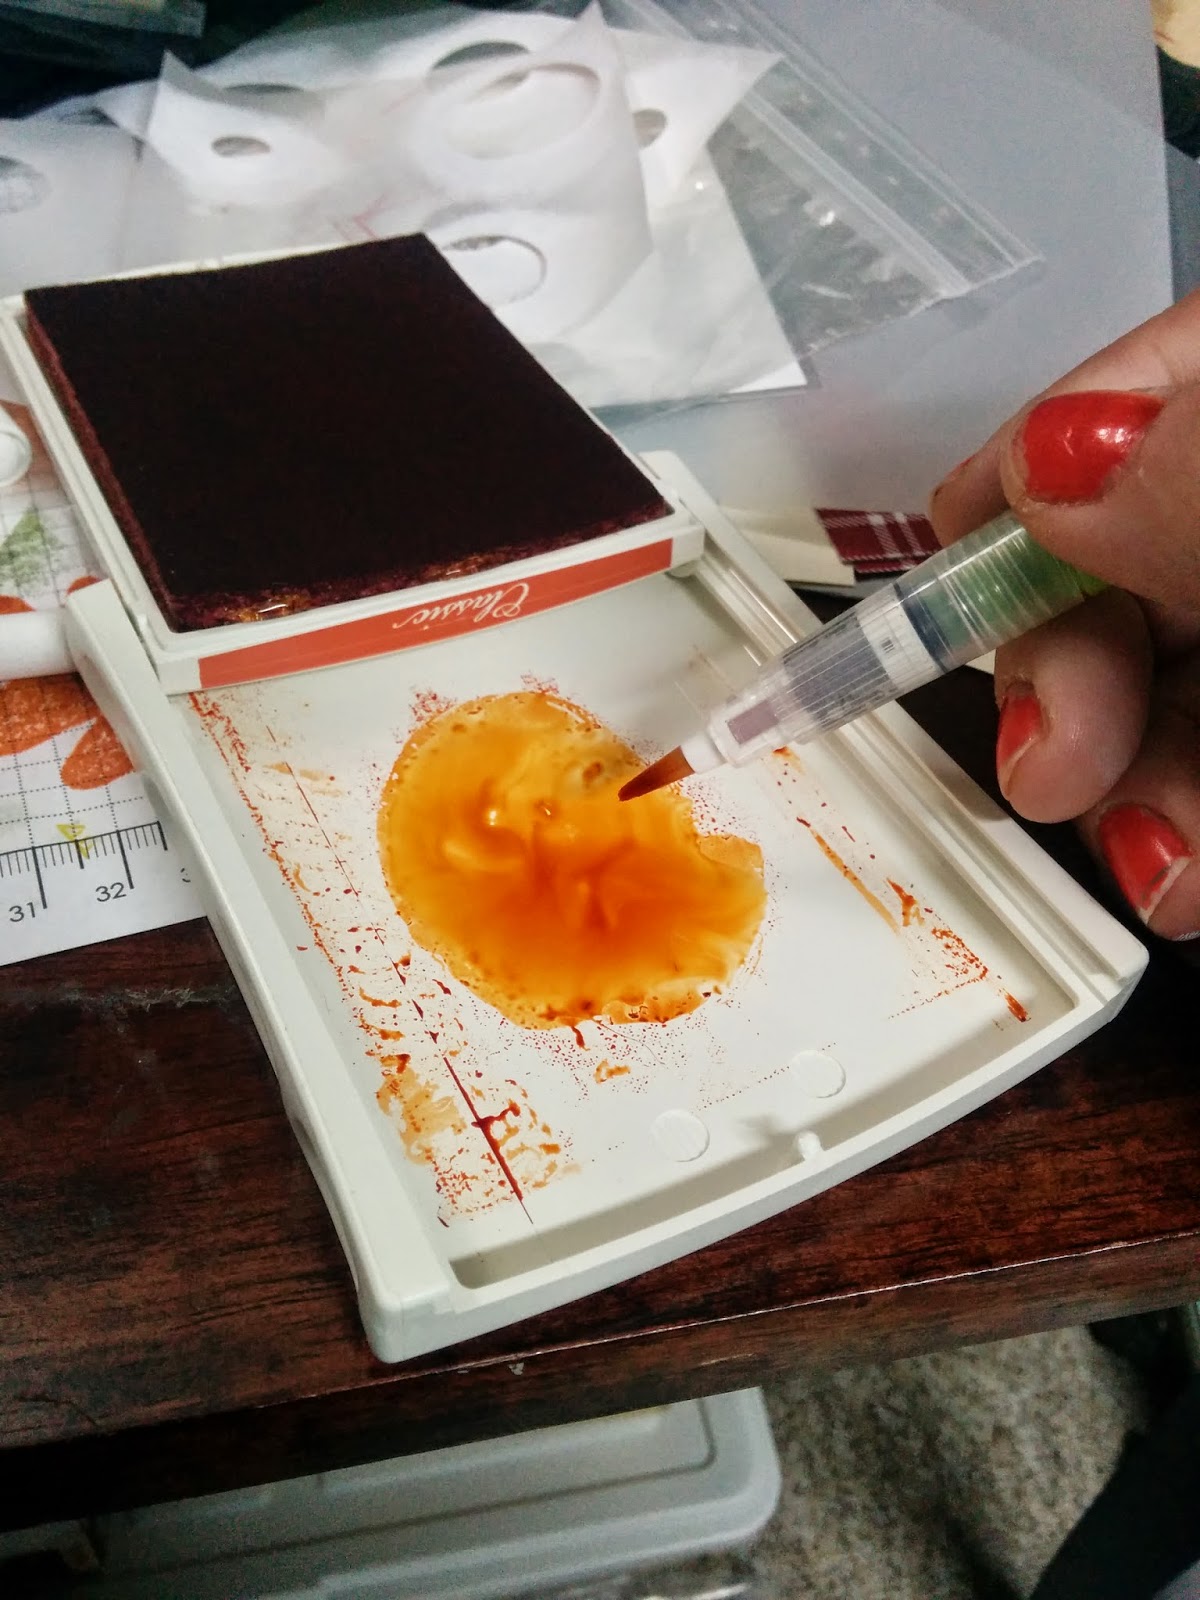 If you squeeze your inkpad before opening it, you'll get a nice puddle of ink to work with. You can add a little water to this puddle if you want to thin the color out a little. I like to use my aqua painter because I can add water with a squeeze of the fingers. If you are using a Re-inker, just add some ink onto a small plate or palette and away we go!
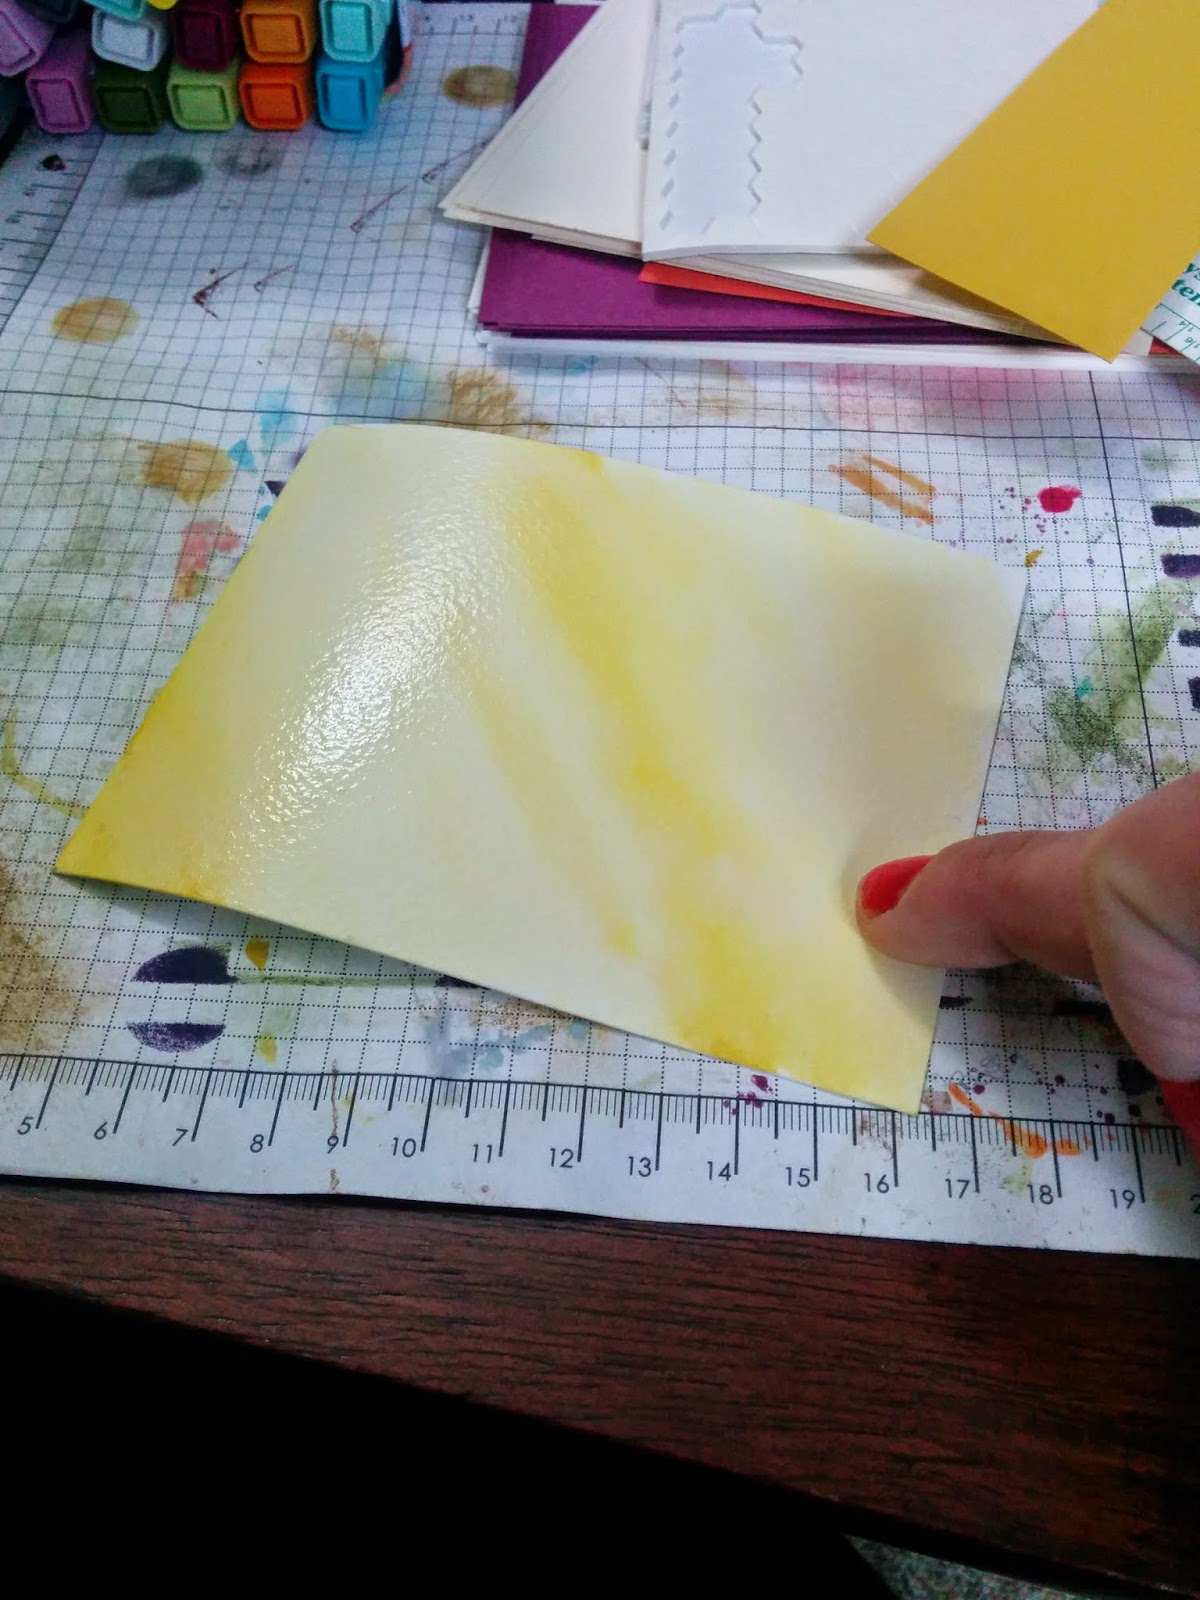
 If you totally saturate your water color paper with water first, you'll get a softer/more blended look. If you want a more concentrated color or defined color shifts, don't start with water. I happen to love the "blurry" way these colors mix with more water.
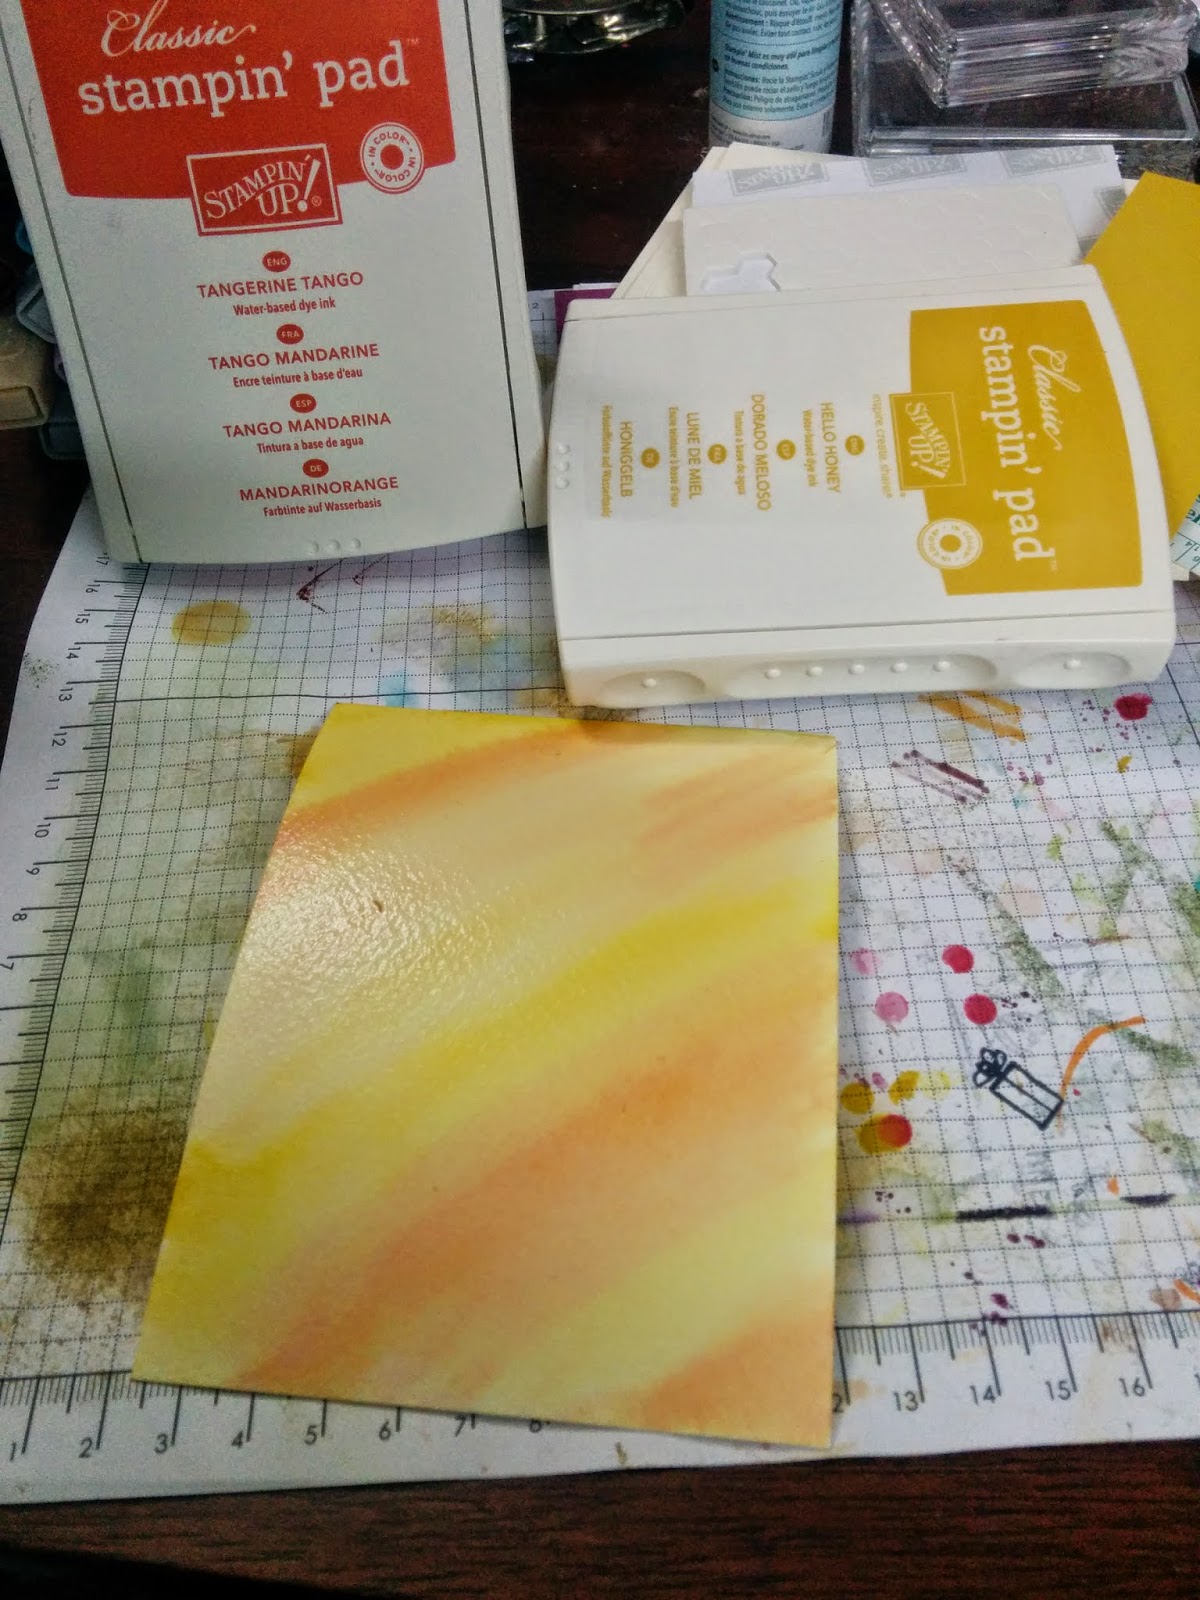
Then you can start a load of laundry while this dries....I'll wait.
Now that it's dry, here comes the fun part!
Step 2: Stamp your sentiment or image on your DRY paper.
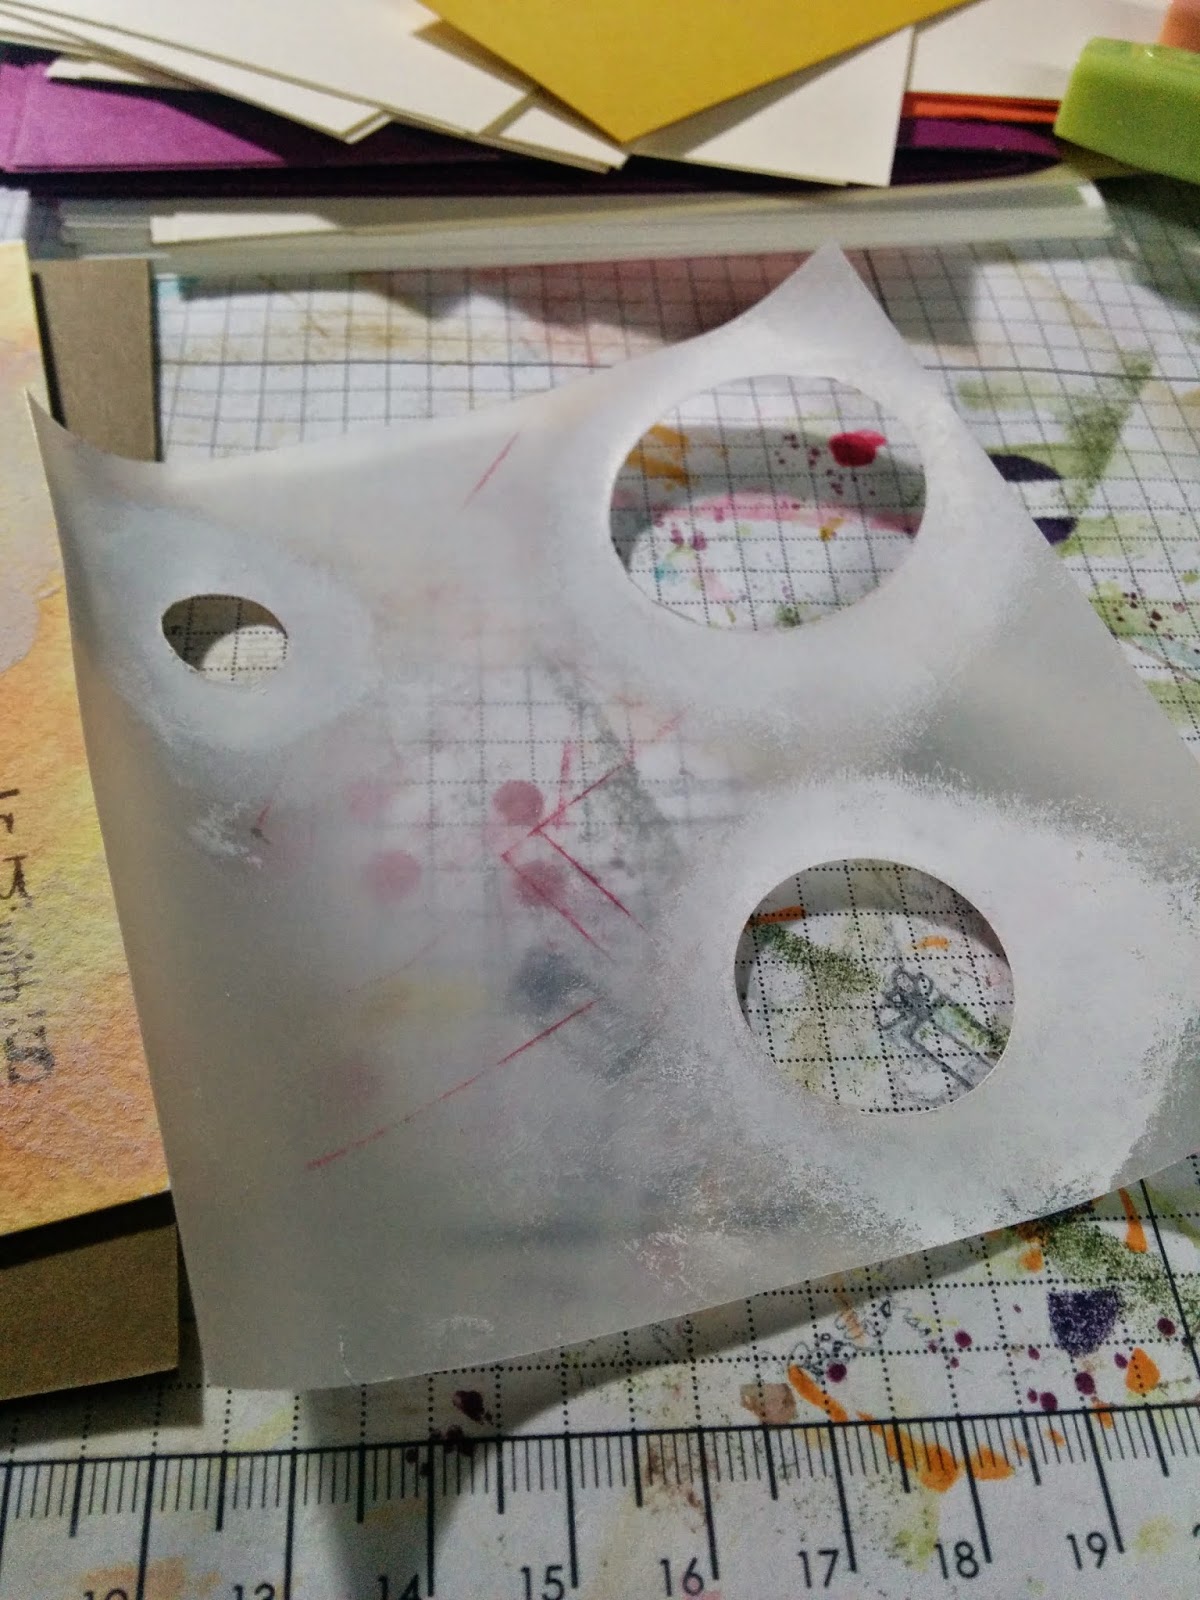 Here is my template! I punched 3 sizes of circles out of vellum (you can use acetate or a stencil if you prefer!) this will help you give that depth without working too hard.
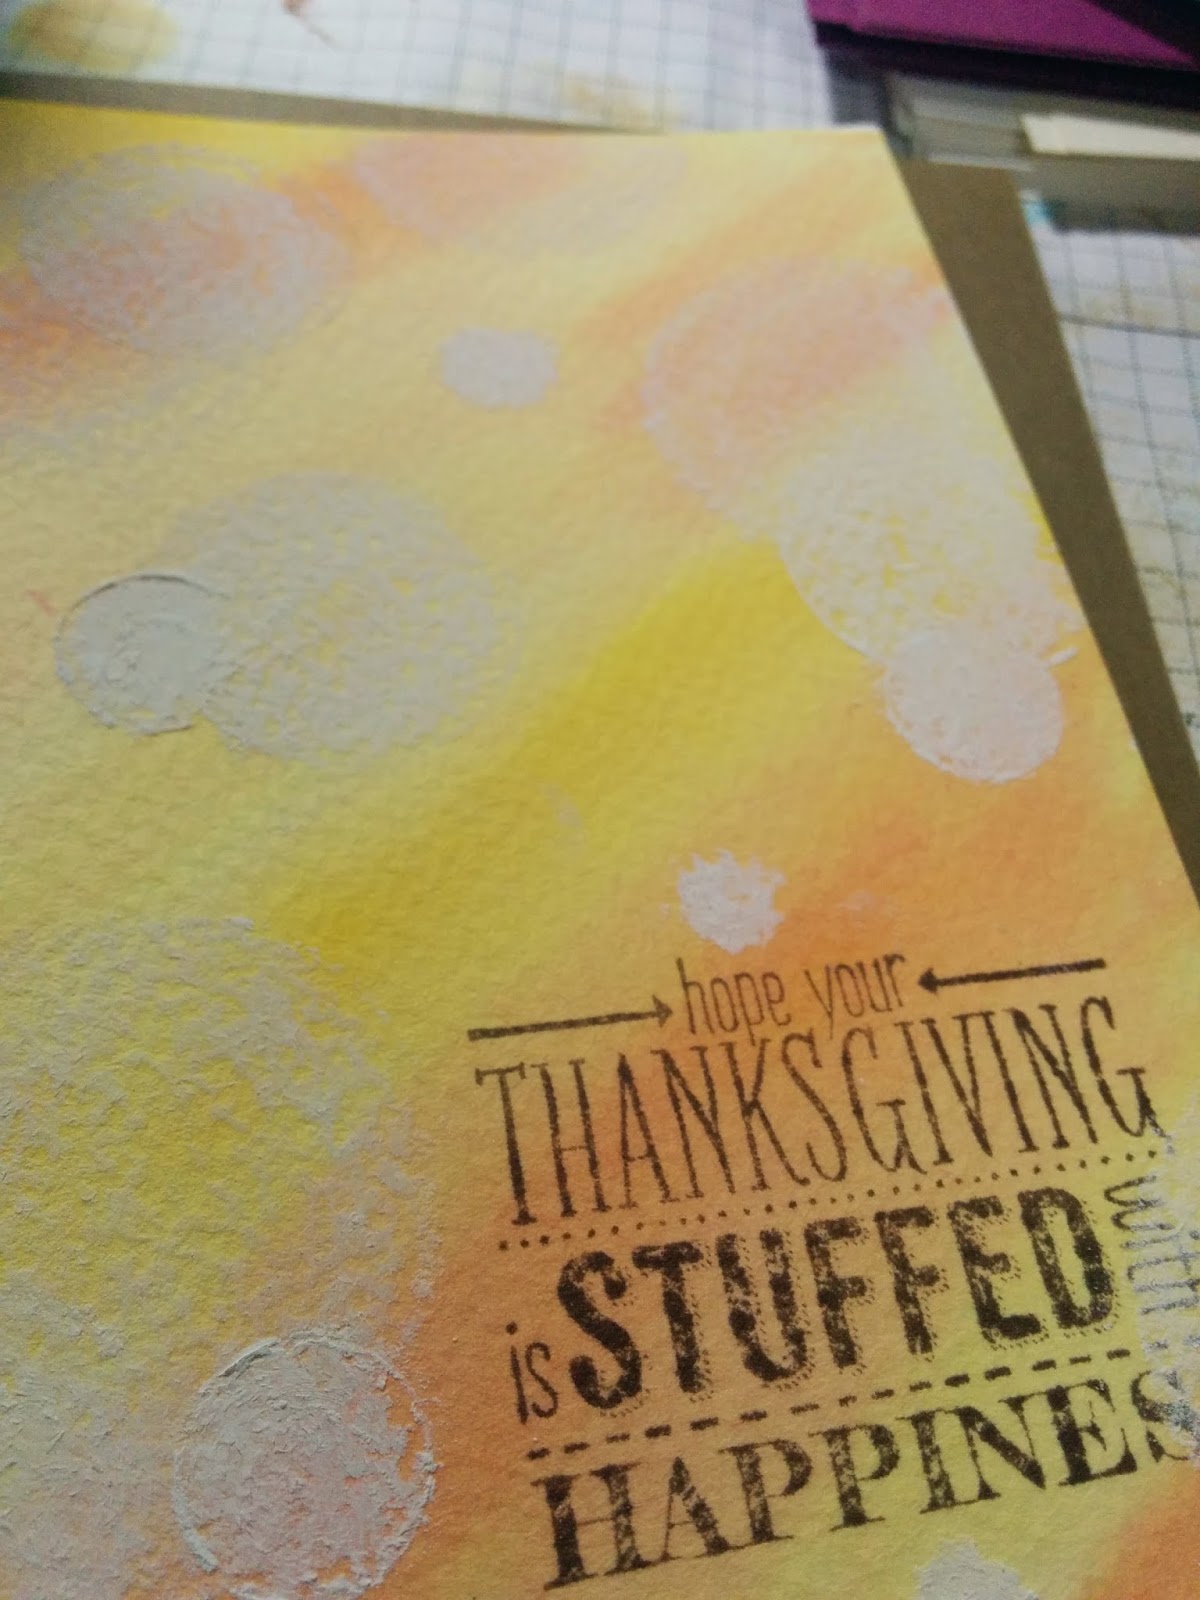 Start with the largest circles first. You'll want these to be lightest in color (these are the WAY out of focus points) In this sample I used white chalk, I find its easier to fix boo-boos than with pigment ink, but either way is super easy! Color in the largest circles with light pressure and a very soft subtle touch. When you start adding the next size circle, make them slightly darker than the first. Add them next to, on top of, or no where near the large ones. Then when you do the smallest circles, add a heavier hand and make them darker still. Once you're happy with the placement, take your chalk and make smaller, super dark circles. These will represent the "in focus" parts. once you get it Just about Right you can go back and use your fingers to soften some of the chalk lines. If you are using Pigment ink, you will want to heat set in between the circle layers so they do not smear together.
How are you feeling? Super easy right?!
Add some Bling....and you're all set!

 This card used Pigment ink...notice the circles are more defined and they look more "picture like"
---------------------------------------------------------------------------------->>>>
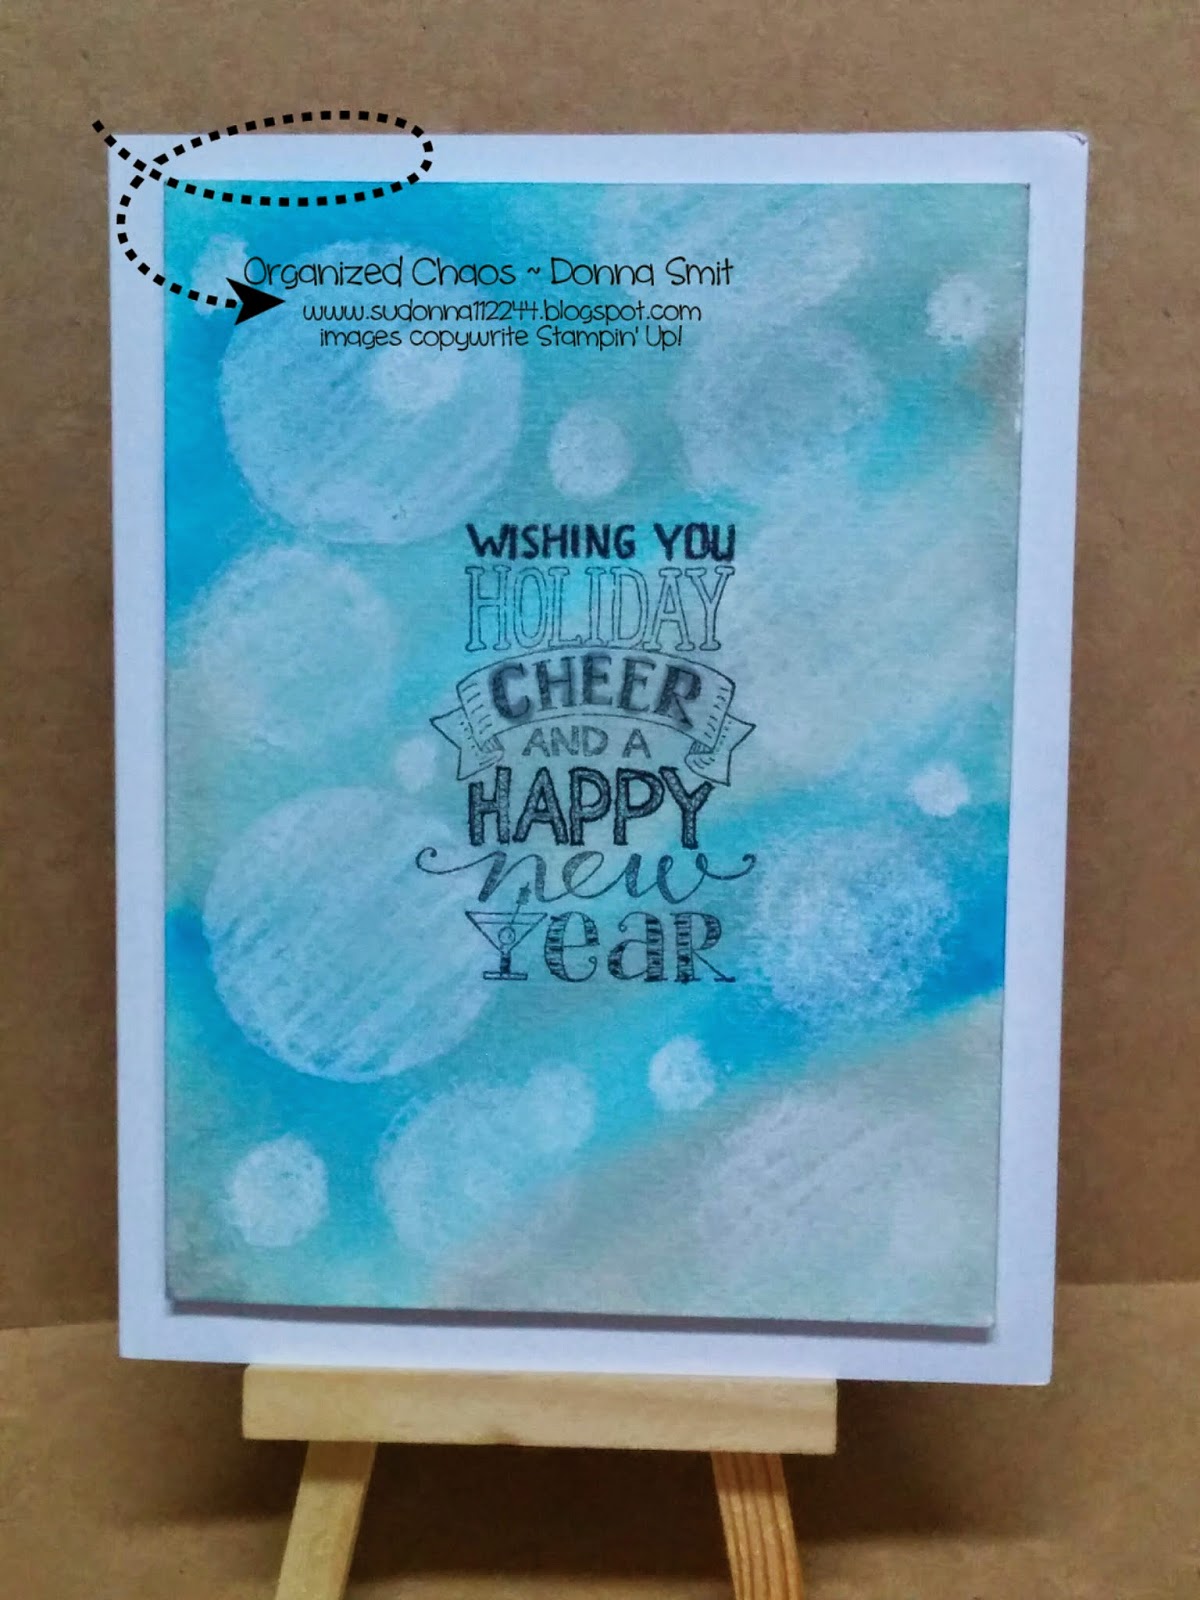
Here is another chalk version. It helps when you have a dark background to really make those circles POP!
<<<------------------------------------------------------
Another way to Bokeh?! YES! You can use shapes!
For this variation, just take a shaped stamp, and stamp off from a focal point outward. Basically, stamp as many times as you can without getting more ink. You can do this with many colors, or just one. The possibilities are endless!!
Thank you SO MUCH! for stopping by today and learning a new technique with us!
Don't forget, there is a color challenge going on right now! Enter here.
Check out our designer's Bokeh creations! Be sure to stop by their blogs for some tips and tricks to making their cards. There's no one way to Bokeh!
Donna Smit ~ Organized Chaos

Darcy Johnson ~ Dj's Stampin' Place

Breelin Renwick ~ Craft-somnia Momma

Erica Bass ~ Stamping Starlette

Kim Ryden ~ Stamping with Kim
Check in tomorrow for another stamp set focus, For All Things!
Beautiful cards! You made the bokeh technique very easy and doable. Thanks so much for sharing this technique. :)
ReplyDelete